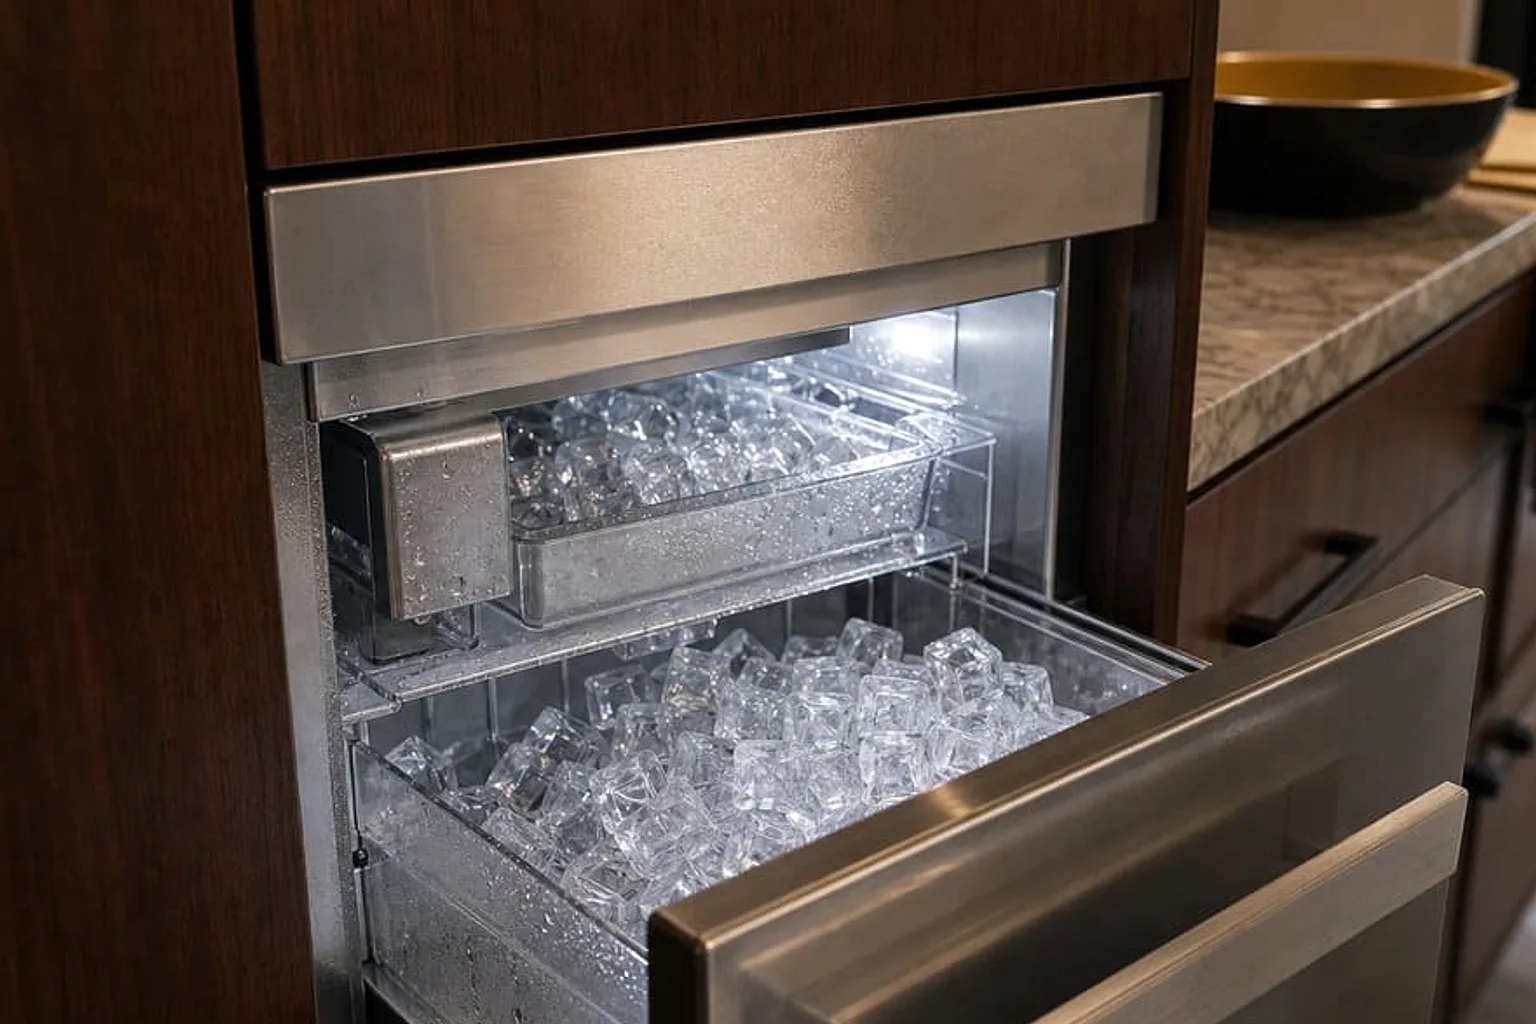
A Wolf warming drawer installation comes down to 5 checks: a square, level cutout built to the installation guide, a grounded 120-volt outlet clear of the chassis, a screw-secured mount, a properly fitted front or custom panel, and a first heat test at the Proof setting of 85°F. A Wolf warming drawer needs no water line, gas line or drain, so nearly every installation problem traces back to fit, power or the panel.
This guide covers each Wolf warming drawer check from the owner's side, including the custom panel questions people search for most and the installation slips that later surface as error codes or a dragging drawer.
What does a Wolf warming drawer need before installation day?
A Wolf warming drawer is a self-contained electric appliance, so the preparation list is short: a cabinet opening cut to the dimensions in its installation guide, a flat cabinet floor strong enough to carry the chassis plus a full load, and a grounded 120-volt outlet on the circuit the guide specifies.
Confirming which Wolf warming drawer is on site comes first. Wolf warming drawer model numbers begin with WWD, as in the WWD30, and the serial tag sits on the left front floor area of the inner cabinet with the drawer pulled open. Cutout sizes, panel options and mounting hardware differ between versions, so match that tag to the right installation guide before the cabinet maker cuts anything.
How should the cabinet opening be prepared?
A Wolf warming drawer cutout has to be square, level and flush at the face, because the drawer front sits tight against the cabinetry with even gaps. Measure the Wolf warming drawer opening corner to corner both ways; equal diagonals mean the box is square. Level the cabinet floor both ways, shimming the platform rather than the chassis.
The floor under a Wolf warming drawer must stay flat under weight. A thin cabinet bottom flexes when the drawer is loaded, pulling the drawer out of alignment so it rubs. Wolf asks owners to keep the contents under 60 lb (27 kg), a limit that assumes a solid base.
Heat around a Wolf warming drawer matters too. Follow the stacked layouts and spacing the installation guide shows rather than improvising, and think twice about sunny outdoor spots: Wolf notes that direct sun on outdoor installations can push a warming drawer to 250°F and trip error 60.
Where should the outlet go, and what power is required?
A Wolf warming drawer plugs into a standard grounded 120-volt receptacle, and the installation guide states the circuit rating it expects. Have a licensed electrician confirm that rating and place the receptacle in an adjacent cabinet or on the back wall, where the Wolf warming drawer cord reaches without stretching and the chassis will not press against the plug. Skip extension cords and adapters, and feed the cord through before sliding the chassis in so it is never pinched.
Eichler kitchens add a wrinkle. Across the roughly 275 Eichlers in Monta Loma (Fairview) and Bell Meadows, homes sit on concrete slabs with radiant heat, so a new receptacle for a Wolf warming drawer in an island usually has to come from a wall or the ceiling rather than the floor. Settle that route before the cabinet box is built.
Power interruptions during installation can leave a Wolf warming drawer showing a code on its first start. PF on the Wolf control panel means a power failure: press Power On/Off, or reset the drawer at the home electrical supply. Error 10 indicates an incorrect checksum; switch the breaker off for 30 seconds, turn it back on and retest.
Wolf warming drawer panel installation, step by step
A panel-ready Wolf warming drawer takes a custom front from the cabinet shop, and its installation guide lists the panel dimensions, thickness limit and mounting points. The job runs in 5 steps.
First, confirm the Wolf warming drawer is panel-ready; a stainless model ships with its own finished front.
Second, size the Wolf warming drawer panel so its reveals match the neighboring drawers, and finish all six faces, since the drawer runs warm and holds moist food for hours.
Third, keep the Wolf warming drawer panel within the weight the guide allows; a thick solid-wood front loads the same slides that carry up to 60 lb of food.
Fourth, attach the handle from the back, then pre-drill the Wolf warming drawer mounting holes at the guide's bracket locations, using screws too short to break through the face.
Fifth, hang the panel, even out the gaps, and cycle the Wolf warming drawer a dozen times; it should glide and close fully without rubbing.
How do you test a new Wolf warming drawer?
A first test confirms the Wolf warming drawer is wired, seated and heating before it holds dinner. Select Proof and the Wolf warming drawer should settle near 85°F; then step through Low at 120°F, Med at 160°F and High at 200°F, checking each with a thermometer on the pan floor.
A Wolf warming drawer shuts off after four hours unless the timer is set between one minute and 24 hours, so a drawer that goes dark mid-test may simply have timed out. To change the Wolf display between Fahrenheit and Celsius, turn the drawer off, hold the Temp Up and Down arrows for 5 seconds, pick the unit, then touch Power On/Off.
Finish the Wolf warming drawer check with a slide test. If the drawer drags, fully extending and closing it usually realigns the slides; persistent rubbing points to an out-of-level floor or an oversized panel.
Which installation mistakes turn into service calls?
These Wolf warming drawer faults commonly follow a new installation, listed from symptom to owner check.
Error 60 on a Wolf warming drawer means it reached 250°F, usually from hot surroundings such as direct sun or a nearby heat source. Cool the area, confirm the drawer was installed to the guide, reset the breaker for 30 seconds, and call a technician if the code returns.
A HOT message flashes on a Wolf warming drawer running more than 10°F above set point, rechecking every 20 seconds. If HOT stays on for more than five minutes, stop using the drawer until a technician repairs it.
Error 50 on a Wolf warming drawer means the door switch reads closed while the touch pad is in use or the unit starts, often from a proud panel or an item blocking the drawer. Clear it, close the drawer firmly and power on; the RE diagnostic reset clears the code, and a repeat calls for a technician.
A Wolf warming drawer that drags is usually racked in its opening, loaded past 60 lb or carrying an overweight panel. Realign it, rebalance the load, and call a technician if a slide is bent.